3D Scanning & Printing


Final Project Change

This week I have decided to change my final project from the LED Phone Case. I will be changing my final project to a mini fridge kegerator with a custom tap handle and drip tray. My initial thoughts on it are that it will have a custom tower where the handle will be and also have a microcontroller programmed to control the temperature of the mini fridge. We have a lot of great local breweries here in Alaska and to have some on tap in my own home I thought would be great. The following pictures are some of the concepts I will probably try and follow.

Torture Test

To begin this week, we wanted to test out a couple of the 3D printers to see how they would compare. The two 3D printers that we are comparing are the Dimension sst 1200es and the MakerGear M2 as shown in Figures 1 and 2. The differences in these two 3D printers are the Dimension has its own environment in which it keeps warm, cleans off its head after laying one or two layers, spits out excess material, and has support material it builts with the part. This support material can then be removed by placing the part in a chemical bath for 24 hours. The MakerGear has a heated bed but does not have support material that it lays down while building the part thus making it harder to build complicated structures.
Figure 1: Dimension sst 1200es 3D Printer
Figure 2: MakerGear M2 3D Printer

The torture test which we decided to use to test these two 3D printers was found off thingiverse.com and can be found here: Torture Test. This model was made to test and push 3D printers to the limits which makes it a good test model for our two printers here. After downloading the file and loading it onto the two programs for each of the printers, we let the machines do their job. The final results from the torture test are shown in Figures 3 and 4. From these photos we can see that there are some differences between the two prints of this same object. The white model was done on the Dimension 3D printer and the black model was done on the MakerGear M2.
Figure 3: Finished Models of Torture Test
Figure 4: Torture Test Models Done on Dimension sst 1200es and MakerGear M2 3D Printers

After examining these two models, I noticed that the Dimension printer's final product came out closer, if not perfect, to the original design file. Comparing the two side by side, one of the biggest differences is the arch in front of the box as shown in Figures 5. The MakerGear couldn't build the arch and the reason behind that is that it did not have the support material underneath it. With the Dimension, it programs to build support material in areas that need it so it can lay material on top on that. Since the MakerGear did not have this support it could not build the arch effectively and probably could not build it ever. Another problem I saw with the MakerGear's product were the through holes. The MakerGear did not build them very evenly as they were layered and ended up leaving some material in the holes themselves. This was probably from not being able to clean the head while layering the material. These are shown in Figures 7.
Figure 5: Differences in Arch of Torture Test Model
Figure 6: Through Holes of Torture Test Model


Overall, I would choose the Dimension to make parts. If they were more complicated. The MakerGear M2 can handle more basic designs and takes less time to print. You also don't have to worry about putting your part in a chemical bath after it is done printing to remove the support material.

3D Printing

After having tested a couple of our 3D printers, I now wanted to design my own model and print it. Having changed my final project this week to a mini fridge kegerator, I thought that a custom tap handle would be a good option to make. Using Creo, I came up with the model shown in Figure 7. This would be a hard design to make subtractively because of the spiral design and rod going through the middle of it. After designing it, I saved it as a .stl file so that the 3D printer could print the model. Since this design was a bit complicated, I knew it needed support material in order for the design to come out properly. This meant I needed to use the Dimension 3D printer. Using the installed software, I oriented the model so it would print the way I wanted it and waited for the program to compute how much material it would need for the model. This process is shown in Figures 8-10. As shown, the grey/blue is the support material and the red is the final 3D model only shown a little bit since the spirals need a lot of support material. After this was done, I let the model print overnight since the print time was about 12 and a half hours. Once done I placed the model into a chemical bath and let it soak for 24 hours to remove all of the support material. Finally, I had my finished design as shown in the pictures below (Figure 11 and 12).
Figure 7: Final Model for Tap Handle
Figure 8: Creating .stl File for 3D Printer
Figure 9: Placing Model in Correct Position to be Printed
Figure 10: Model Generated with Support Material
Figure 11: Final Model After Printing and Chemical Bath
Figure 12: Final Model Ready to be Made into Tap Handle

3D Scanning

For the 3D Scanning portion of this weeks assignment I started out trying 123D Catch on my phone. To learn about this app follow this link: 123D Catch. This app allows the user to take a bunch of pictures of an object from different angles and heights and then processes the images into a 3D model. I decided to try this app on a stapler since it was a pretty simple object. After taking photos of the stapler from different anlges and heights (Figures 13 and 14) the photos are then reviewed for clarity because the app gets confused if pictures are blurry. Once the images have been reviewed, they are then processed to a 3D model. Figures 15 and 16 show the final process.
Figure 13: Taking Pictures of Stapler Using 123D Catch
Figure 14: Pictures for 123D Catch App
Figure 15: Reviewing and Editing Pictures for 123D Catch
Figure 16: Processing Images into 3D Model from 123D Catch

After waiting overnight for the app to finalize the 3D model, the app finally generated a 3D model. I thought that this app did fairly well in generating a solid model expect for adding a bottom to the stapler. To fix this, I should have taken more pictures at an angle that got this detail in it. Figures 17-20 show the model generated by 123D Catch.
Figure 17: 3D Model Generated of Stapler Using 123D Catch
Figure 18: 3D Model Generated of Stapler Using 123D Catch
Figure 19: Top View of 3D Model Generated Using 123D Catch
Figure 20: Side View of 3D Model Generated Using 123D Catch

I also wanted to try a different techique as well at 3D scanning. Steven Fett brought in a Kinect from the XBOX 360 console and downloading the program Skanect turns the Kinect into a 3D scanner. I decided to try this program by scanning myself. I opened the program and made sure the Kinect was picking me up in its camera, then I pressed record. I turned myself around until I was facing the Kinect again. The program then took the scan and generated a 3D model. After editing the model a bit by filling in the holes of the model, the final 3D model was complete. This program was easy to use and generates a decent model, both with color and white. If wanted, I could then export a .stl file for printing from this program. Process is shown in Figures 21-28.
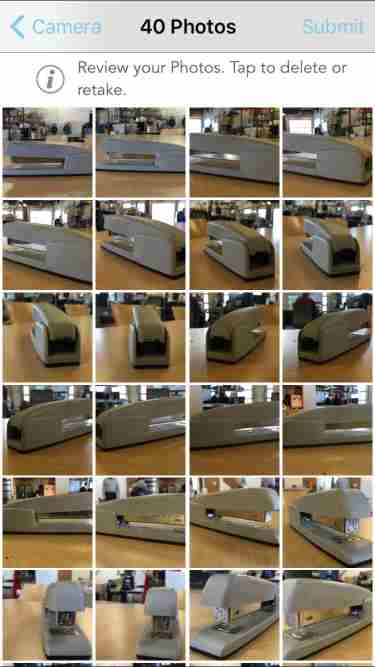
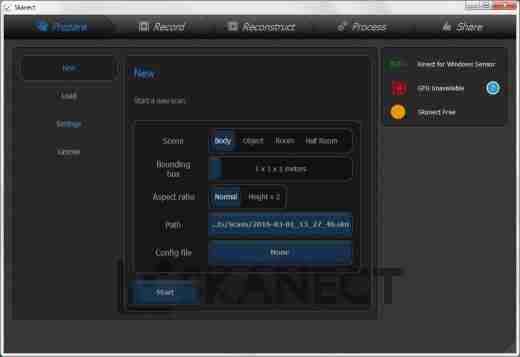
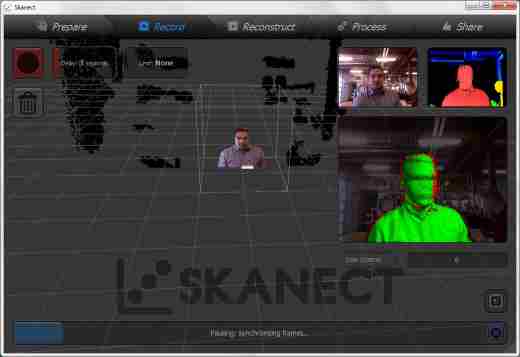
Figure 21: Generating a New Scan with Skanect
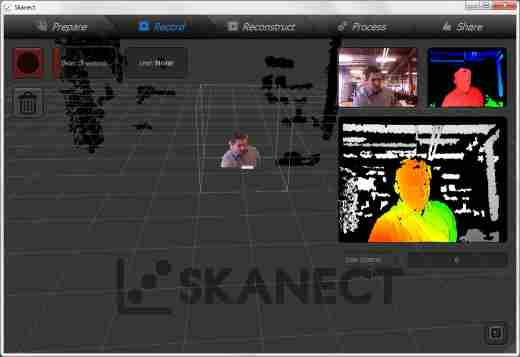
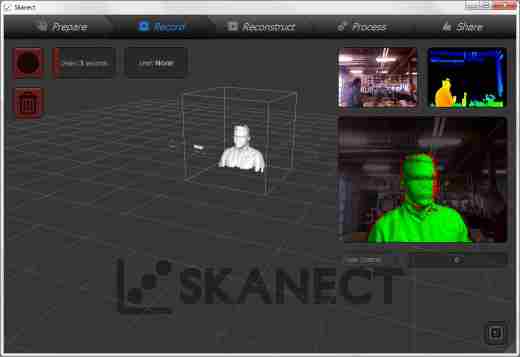
Figure 22: Ready to Record Myself with Skanect
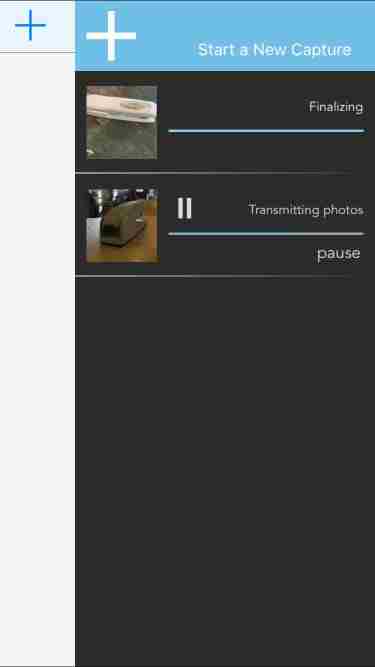
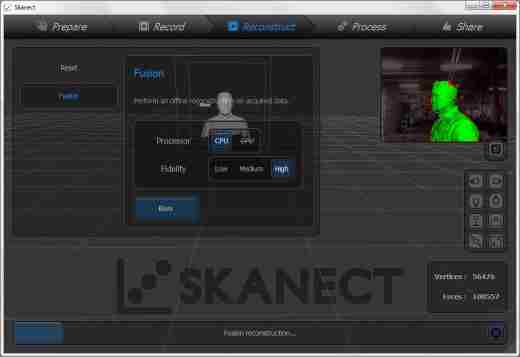
Figure 23: Processing Scan into 3D Model
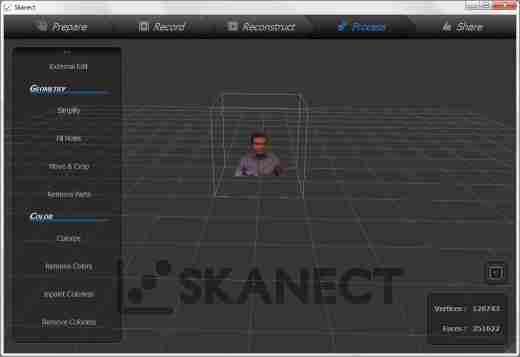
Figure 24: 3D Model Generated with Kinect and Skanect
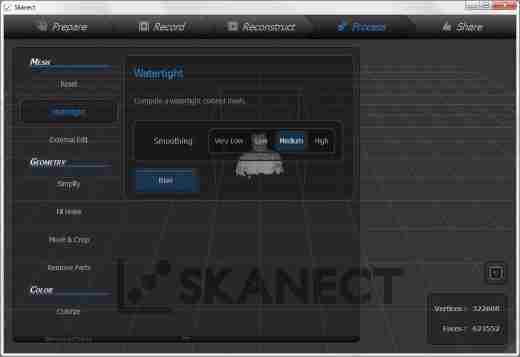
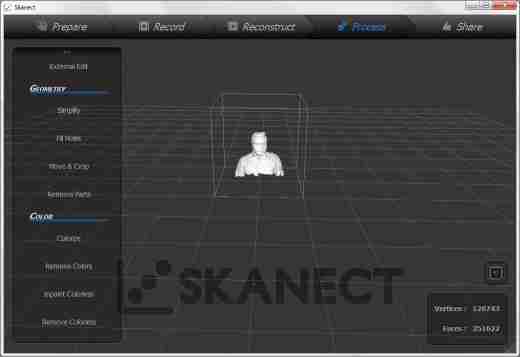
Figure 25: Editing Image to Generate Smoother Model
Figure 26: Filling in Holes of Model to Generate Solid 3D Model
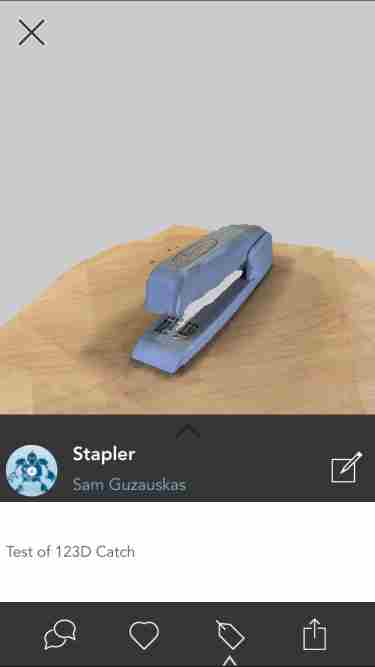
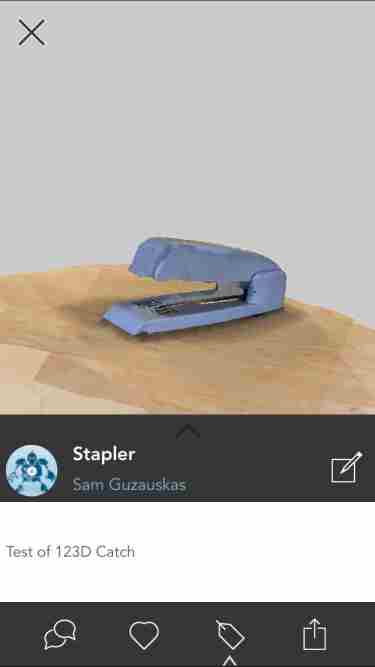
Figure 27: Final 3D Model Produced by Skanect in Color
Figure 28: Final 3D Model Produced by Skanect in White

Project Files

Custom Handle